Luxe Traditional Wallpaper Installation
This step-by-step guide shows you how to install our Luxe Traditional Wallpaper. For our Peel & Stick instructions click here.
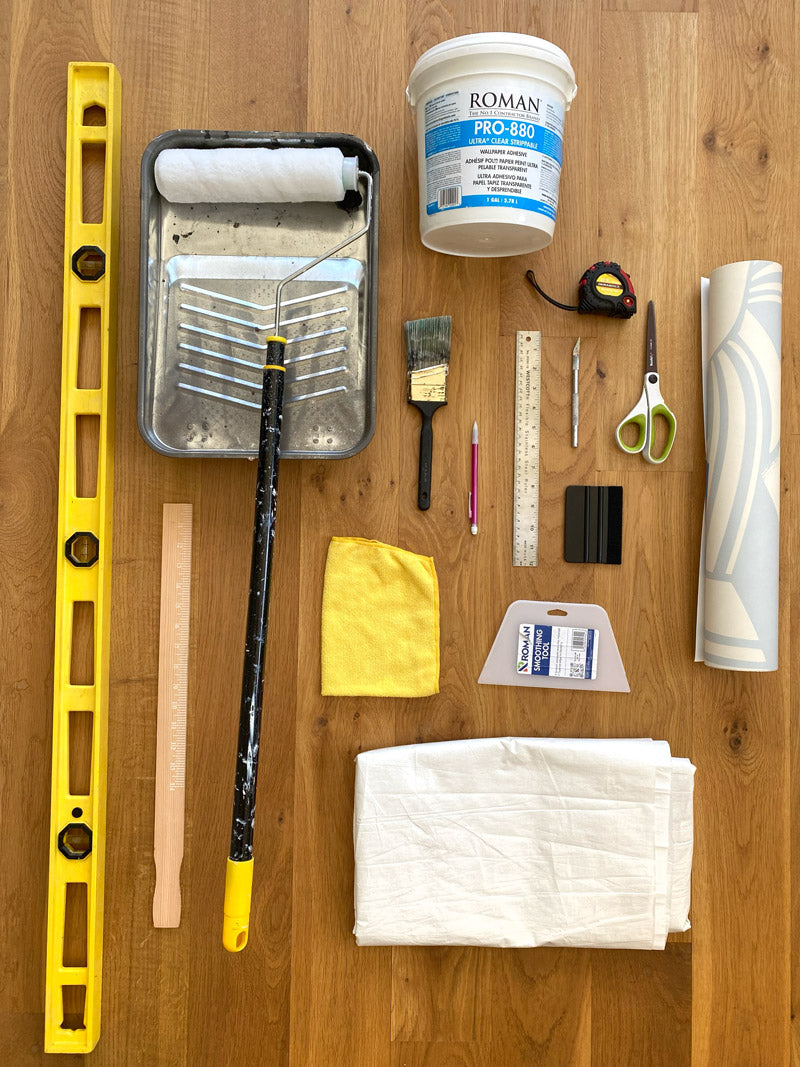
What you will need
- Luxe Traditional Wallpaper
- Smoothing tool (comes with black one)
- Larger smoothing tool (optional)
- Level
- Tape Measure
- Xacto Blade or Utility Knife
- Metal Ruler or Straight Edge
- Pencil
- Scissors
- Cloth/Sponge
- Paint Roller/Brush
- Stir Stick
- Paint Tray
- Wallpaper Adhesive (Recommendations: Roman Pro-880 or Zinzer SureGrip)
- Dropcloth
- Water
Step 1
WALL PREPARATION
Patch, spackle and sand any imperfections in your walls. Use a lightly damp cloth or sponge to clean the entire wall, especially edges and corners. Allow the walls to dry thoroughly before beginning installation. If your walls were recently painted allow them to cure for 4 weeks prior to installing your wallpaper.
Step 2
PREPARE YOUR PANELS
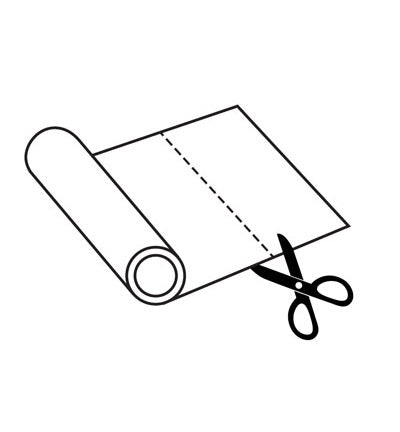
Unroll your wallpaper and cut on the dotted lines to separate each panel and layout the panels from left to right in numerical order to stay organized. Once your panels are laid out on the floor, check that all panels are free of damage. Double check that you have sufficient rolls to complete the job. If your print was split into multiple rolls, it is important to lay out your panels to determine where your repeats match-up and ensure you are starting with the correct roll.
Step 3
DECIDE YOUR STARTING POINT
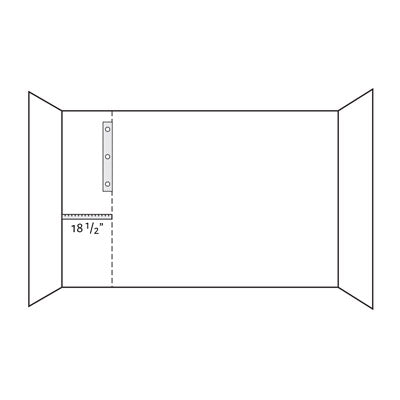
Your starting point will depend on factors in your room. Typically panels are hung from left to right but each room is different. Start in the most inconspicuous corner - a back corner, behind a door, or behind a large piece of furniture. See diagrams below for additional tips:

Step 4
MAKE A PLUMB LINE
To ensure you get off to a great start, use a level to make a vertical plumb line 18 1/2 inches in from the corner where you will begin your installation. This plumb line will be your guide to help install your first panel perfectly! Hanging your first panel of wallpaper level and straight is key to the success of your project.
Step 5
PREPARE YOUR PASTE
Prepare paste according to manufacturers instructions. A slightly wetter mixture makes it easier to slide your panels into perfect positioning.
Step 6
HANG YOUR FIRST PANEL
Grab a paint roller and apply a thick and even coat of paste to the wall about the width of a single panel to ensure the paste does not dry before moving onto the next panel. Use a paintbrush to apply paste in the corner and at the top and bottom to ensure you have full coverage. It should be a heavy enough coat that your panel can slide for repositioning on the wall.
Grab your first panel and apply it to the wall by lining up the right side to your plumb line and pressing it to the wall. Due to walls not being level, leave an even amount of excess material above and below the panel (ex: if the panel length is 6 inches longer than the wall, begin installing by leaving 3 inches of extra material above the wall and 3 inches below the wall.) Any overhang will be trimmed at the end of the installation
Install the panel from top to bottom. Use the smoothing tool provided to smooth the wallpaper from the center outwards to smooth out air bubbles and ensure firm adhesion to the wall. As you install, use a wet cloth to wipe away any paste on your panels immediately.
Step 7
APPLY THE FOLLOWING PANELS
Apply the next panel in the same manner. Create a lightly marked plumb line 19" from the edge of your first panel to guide you as you roll on the paste for the second panel. It is important to apply enough adhesive all the way to the edges, top, and bottom to avoid peeling and drying with open seams.
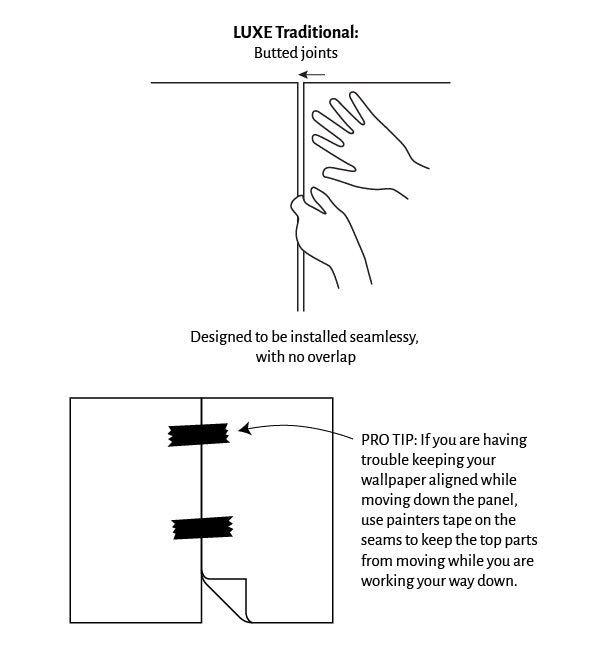
As you hang the second panel be sure to match the pattern on the previous panel and butt the seams tightly up against one another. Do not overlap as the Luxe Traditional wallpaper is designed to be installed seamlessly. Continue smoothing each panel from the center outwards to smooth out air bubbles and ensure firm adhesion to the walls. Use a wet cloth to wipe away any excess paste on your panels, ceiling, and trims as you go.
PRO TIP: If you are having trouble keeping your wallpaper aligned while moving down the panel, use painters tape on the seams to keep the top parts from moving while you are working your way down.
Step 8
SMOOTH & CUT
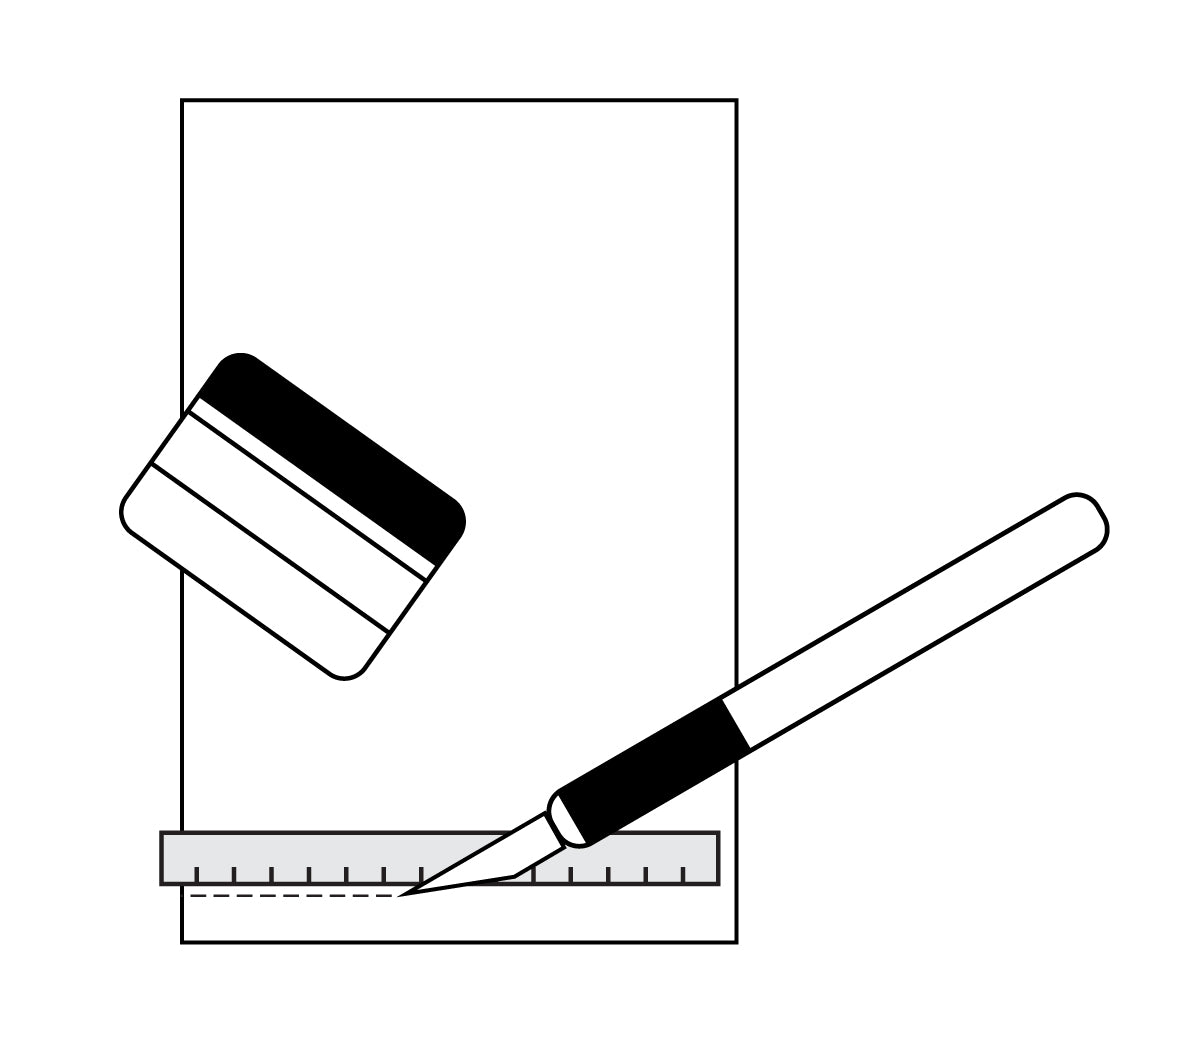
Once you’ve applied all panels, go over your wall with your smoothing tool for extra measure. Then use a sharp xacto blade or utility knife with a metal ruler or straight edge to trim the excess at the top, bottom, left and right. After trimming use a wet cloth to wipe away any excess paste on your panels, ceiling, and trims.
Now you're done! Stand back and admire your beautiful wall!
If needed, please reach out to hello@suthercreative.com for assistance

